
This is a delicious pumpkin cake made from scratch (that means no canned pumpkin!), with the added bonus of being non-dairy! ~Pardon my amazing photography~
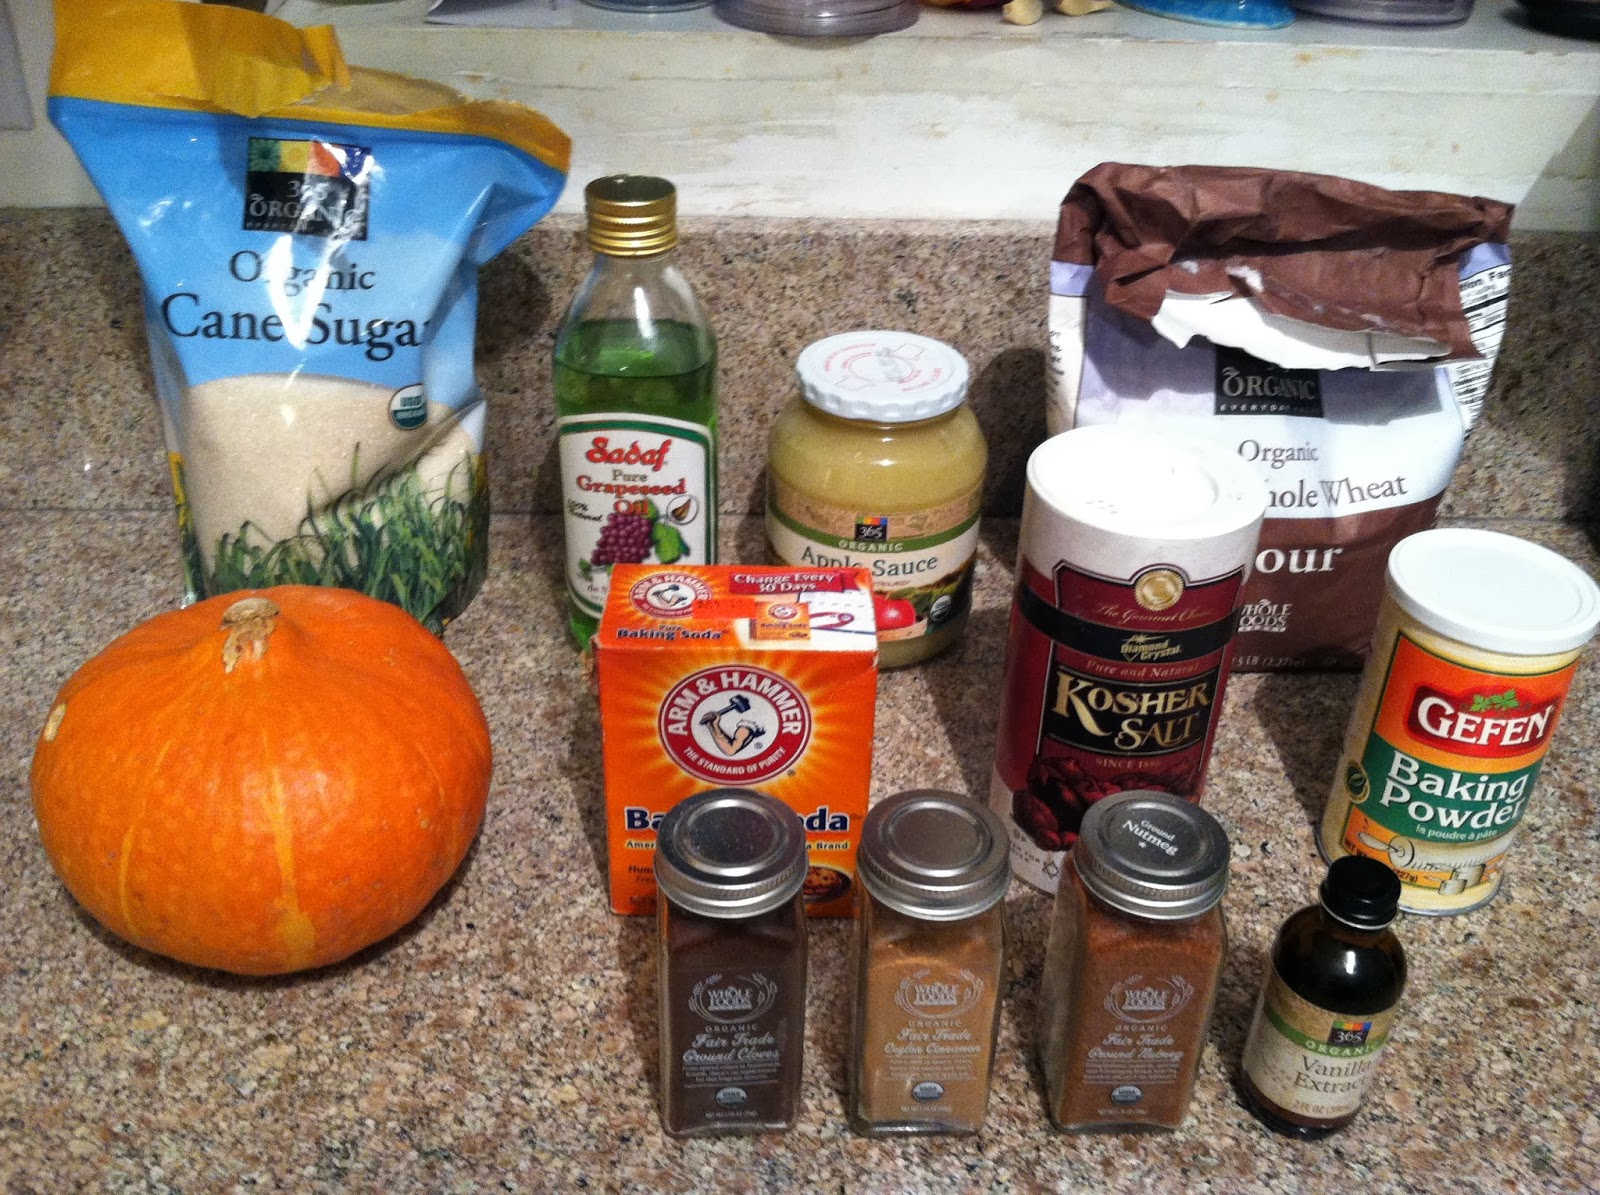
Ingredients:
2 cups white sugar
3/4 cup vegetable oil
1/2 cup unsweetened apple sauce
1 teaspoon vanilla extract
2 cups pumpkin Purée (or canned)
4 eggs
2 cups all-purpose flour
3 teaspoons baking powder
2 teaspoons baking soda
1/4 teaspoon salt
2 1/2 teaspoons ground cinnamon
1/4 teaspoon nutmeg
1/2 teaspoon cloves
1/4 teaspoon nutmeg
1/2 teaspoon cloves

Step 1:
Preheat oven to 350 degrees Fahrenheit -
Cut raw "pie pumpkin" (Sugar Pumpkin, Baby Pam, etc.) into fourths.
Use a spoon to scoop out the seeds and stringy parts, but don't throw away those seeds!
Place pumpkin fourths on a baking sheet and bake in oven for 45 minutes, or until pumpkin is tender/soft.

Step 2:
Use a knife and peel the skin off of the pumpkin fourths.
If this proves difficult, you may want to throw the pumpkin back into the oven for another 10 minutes!
Next, chop up the peel-free pumpkin into cubes.

Step 3:
Throw those pumpkin cubes into a blender.
Add a few table spoons of water (or milk) and blend up until completely smooth.
Alternatively you could use a food-processer in shifts.

Step 4:
I lied. First we have to deal with those pumpkin seeds!
Separate stringy insides of the pumpkin from the seeds (those orange globs in the picture).
Line baking sheet with parchment paper and distribute seeds on the sheet.
Drizzle seeds with some olive oil and sprinkle with salt to taste!
Roast in oven for 3-5 minutes, or until they begin turning golden brown. Let cool a few minutes and enjoy! ~ NOW we can start the cake!

 Step 5:
Sift together the flour, baking powder, baking soda, salt, cinnamon, nutmeg, and cloves.
Set aside.
In a large bowl, combine sugar, oil, and apple sauce.


Step 6:
Blend in vanilla and pumpkin.
Then beat in eggs one at a time.


Step 7:
Gradually beat in the flour mixture.
You could add some nuts into the batter at this point -- I personally prefer the cake to be even in texture.

 Step 8:
Pour batter into either a 12x18 inch pan, or two cake pans.
Bake in the preheated oven (350 degrees) for 30 minutes, or until toothpick inserted into center comes out clean!

 Step 9:
The cake looks delicious, but it's missing something... Icing!
Measure out 1 1/4 cups powdered sugar to a cup and add a few tablespoons of water.
Mix with fork until its a smooth texture. Drizzle or spread onto cake.

Tadaaaa! All done!
~ Enjoy ~
~ Enjoy ~
Source:


